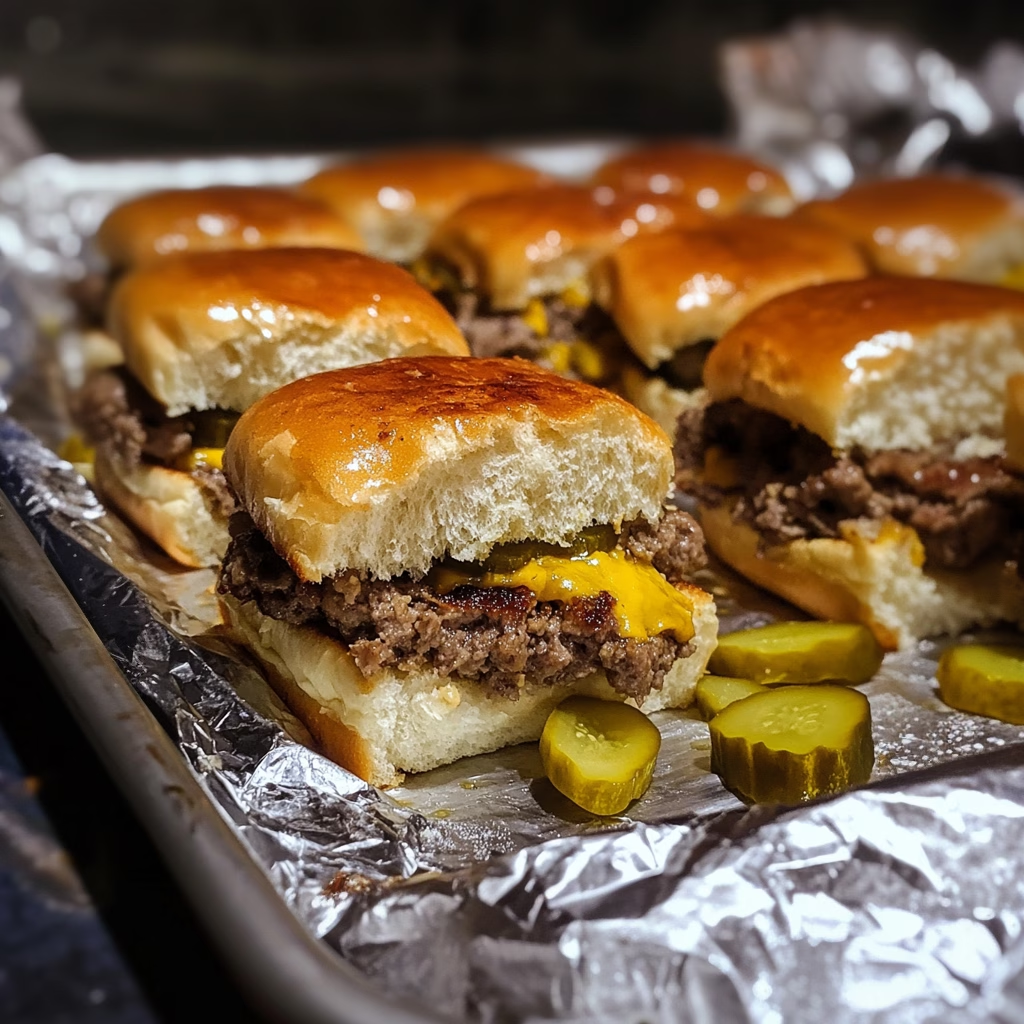
Ah, cheeseburgers! Who doesn’t love a good burger, especially when they’re mini-sized and packed with flavor? Today, I want to share my all-time favorite recipe for *Juicy Cheeseburger Sliders with Melted Cheese*. I can’t even count how many backyard barbecues and game day parties have been graced by these little beauties. They’re like a party in your mouth—tender beef patty, creamy melted cheese, and all those toppings, all snugly tucked inside a soft, sweet roll. Trust me; you’re going to want to add this to your recipe repertoire!
I remember the very first time I made these sliders. I was hosting a gathering for friends, and we wanted something easy yet delicious. When I pulled these sliders out of the oven, my friends practically lunged at the platter. The combination of melted cheese and juicy beef was an instant hit! Every bite was pure joy, and they were devoured within minutes. Let’s not forget the aroma of those bad boys baking away in the oven—it’s enough to have anyone drooling!
What’s in Juicy Cheeseburger Sliders with Melted Cheese?
Let’s break down the star players of this glorious dish:
Ground Beef: I recommend an 80/20 blend for that perfect balance of flavor and juiciness. You can always lean towards leaner meat, but the flavor won’t be nearly as rich!
Garlic Powder and Onion Powder: These guys sit at the flavor’s forefront, giving an extra kick that is oh-so-necessary. They need to be in your spice cabinet if they aren’t already!
Salt and Black Pepper: Simple seasonings, but oh-so-critical. A little salt enhances the meat’s natural flavors while the black pepper adds that subtle bite.
Slider Rolls: I love using Hawaiian rolls for their slight sweetness that pairs beautifully with the savory burger!
Cheddar Cheese: Because what’s a cheeseburger without cheese?! Feel free to swap this for any cheese you fancy—Swiss or pepper jack can also be delightful.
Dill Pickle Slices: They’re the tangy crunch that turns a good slider into a great one! If you’re not a fan of dill, you can omit them or try bread and butter pickles.
Butter: Brushing the tops with melted butter? It’s like a little pat of happiness that gives the buns a shiny, flavorful finish!
Worcestershire Sauce (optional): This adds a savory depth. I can’t resist adding a splash to the mix—yielding even juicier results!
Is Juicy Cheeseburger Sliders Good for You?
Now, I’m not going to pretend that sliders are health food, but they can certainly fit into a balanced diet!
Ground Beef: This is a good source of protein, which is essential for muscle building and energy. Just remember that moderation is key, and choosing leaner cuts can be a healthier option.
Cheddar Cheese: Cheese contains calcium and protein, but it can also be high in saturated fat. If you’re watching your fat intake, consider using a smaller amount or a lighter cheese.
Slider Rolls: Hawaiian rolls can be a bit sugary, so just keep that in mind if you’re tracking sugar intake.
All in all, enjoy these sliders in moderation—they make a fantastic treat for relaxed weekend gatherings or special occasions!
Ingredients
– 1 lb ground beef (80/20 blend recommended)
– 1 tsp garlic powder
– 1 tsp onion powder
– 1 tsp salt
– 1/2 tsp black pepper
– 12 slider rolls (such as Hawaiian rolls)
– 6 slices cheddar cheese (or cheese of your choice)
– 12 dill pickle slices
– 2 tbsp butter, melted
– 1 tbsp Worcestershire sauce (optional)
*Serves:* Approximately 6-8 people (depending on appetite!)
How to Make Juicy Cheeseburger Sliders with Melted Cheese?
1. Preheat your oven to 350°F (175°C). Get that heat going; the anticipation will make it all the more delicious!
2. In a large mixing bowl, combine the ground beef, garlic powder, onion powder, salt, pepper, and Worcestershire sauce (if you’re using it). Use your hands to mix until just combined—don’t overwork the meat!
3. Shape the mixture into a large patty that fits the size of your rolls.
4. Heat a skillet over medium-high heat and cook the burger patty for about 4-5 minutes on each side, or until it’s cooked to your liking (Hello, medium-rare perfection!).
5. While the patty cooks, slice the entire batch of slider rolls in half (keep the top and bottom connected for easy assembly).
6. Once cooked, place the patty on the bottom half of the slider rolls in a baking dish.
7. Lay the cheese slices evenly over the cooked patty—watch that cheese melt as if it were magic!
8. Add the dill pickle slices on top of that cheesy goodness.
9. Place the top half of the rolls back on. Brush the tops with that glorious melted butter for extra flavor!
10. Cover the baking dish with aluminum foil to keep everything moist, and bake for about 10-15 minutes, until the cheese is melted and the rolls are warm.
11. Remove the foil and bake for an additional 5 minutes so the tops get a lovely, slight toastiness.
12. Slice the sliders apart and serve warm—maybe with some extra pickles on the side? Yes, please!
Cheeseburger Slider Variations and Tips
– Customize to your heart’s content! Add toppings like ketchup, mustard, lettuce, tomato, or even bacon if you’re feeling indulgent.
– These sliders can easily be prepped ahead of time. Assemble everything, cover, and pop them in the fridge until you’re ready to bake!
– Perfect for parties, family gatherings, or even a cozy night in with your favorite movie. If there’s one recipe that’s bound to impress, it’s these sliders!
I hope you give these Juicy Cheeseburger Sliders with Melted Cheese a try—and please, let me know how they turn out! I can’t wait to hear about your slider escapades! Happy cooking, and happy munching!


